Growing ginger at home in pots provides a way to enjoy this aromatic root’s flavor, health benefits, and beauty without needing a full garden. With just a few simple tricks up your sleeve, you can turn a small piece of grocery store ginger into a lush, thriving plant that provides you with fresh ginger right at your fingertips. This guide focuses on five key areas critical for successful ginger cultivation in pots at home: selecting the ginger variety and pot, preparing your ginger for planting, potting the ginger correctly, managing the plant’s sunlight, watering and nutrient needs, and finally, harvesting your home-grown ginger.
1. Choosing the Right Type of Ginger and Pot
The journey to growing a successful ginger plant starts with choosing the right type of ginger. You can either pick up a fresh chunk of ginger from your local grocery store or opt for specialized ginger varieties from a garden store or online retailer. Just make sure the ginger root has multiple eyes or growth buds, similar to the ones you find on a potato.
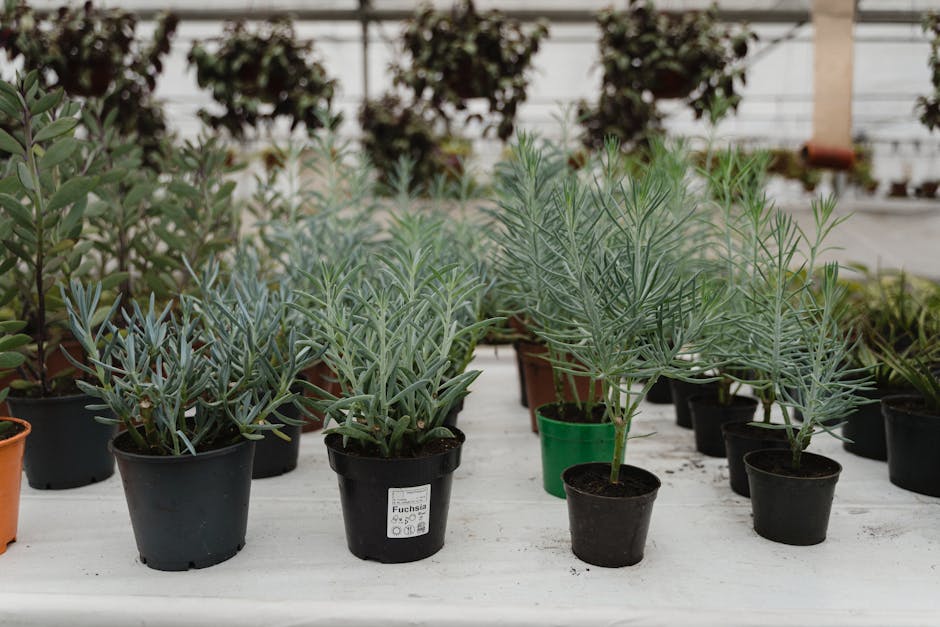
Just as critical as the type of ginger is the pot you choose for planting. A pot with ample drainage is paramount to prevent root rot. As ginger has a shallow root system, it prefers a wide pot over a deep pot. The size of the pot will ultimately depend on how many ginger plants you want to grow, but a pot that is at least 12 inches wide is a good starting point.
– Pro Tip: To encourage growth, make sure to choose a pot that is wider rather than deeper. Your ginger plant will appreciate the extra room to spread out its roots.
2. Preparing Your Ginger for Planting
Now that you have your ginger and pot ready, let’s prep the ginger for planting. Start by identifying the eyes or growth buds on the ginger root. Choose a piece with multiple eyes and soak it overnight. This step may speed up germination and give your ginger a jump-start on growth.
– Checklist for Preparing Ginger:
– Identify the ‘eyes’ or growth buds
– Soak the ginger root overnight
– Select a pot with ample drainage and space
3. Potting the Ginger Correctly
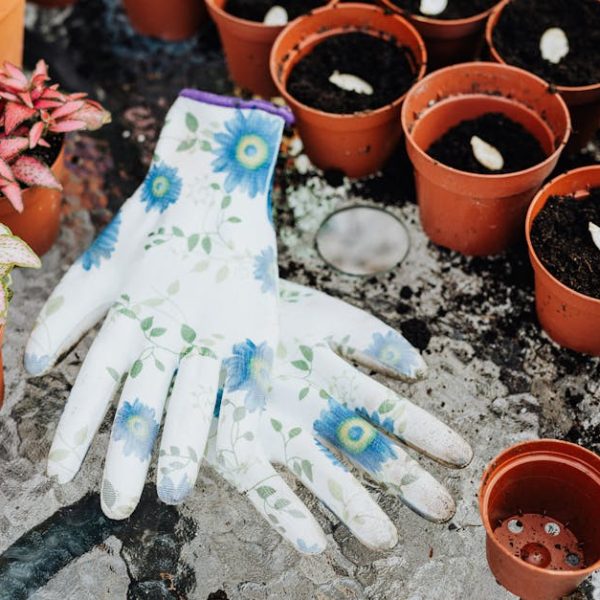
After soaking the ginger, it’s time to plant it in the pot. Lay the ginger root on the soil surface with the eyes pointing upwards. Cover it with an inch of soil and keep it well watered, but not waterlogged. Ginger prefers mildly acidic to neutral pH levels (5.5-6.5) in well-draining soil.
– Best Practices for Potting Ginger:
– Ensure soil stays damp but not waterlogged
– Avoid overcrowding when planting multiple roots
– Maintain a mild temperature, between 22-25 degrees Celsius, around the pot.
4. Managing Sunlight, Watering and Nutrient Needs
Your ginger plant requires special care when it comes to sunlight, water, and nutrients. Ginger plants love indirect sunlight and may scorch with too much direct exposure. In terms of watering, ginger prefers moist, but not waterlogged conditions. This typically means watering once a day, but more frequent watering may be needed if you are in a particularly hot and dry climate.
Just as they need water, ginger plants require frequent feedings for good growth. Regularly adding organic compost or a balanced slow-release fertilizer will significantly boost your plant’s health and yield.
– Organic vs. Synthetic Fertilizers for Potted Ginger
| Pros | Cons | |
|---|---|---|
| Organic Fertilizers | Improve soil health and structure. Slow, sustained release of nutrients. Environmentally friendly. | More expensive. Nutrients are released slower. |
| Synthetic Fertilizers | Cost-effective. Nutrients are readily available to the plant. | May harm beneficial soil life. Overuse can lead to nutrient imbalances, contamination, and plant damage. |
5. Harvesting Your Home-Grown Ginger
Once your ginger plant has grown for about eight to ten months, it’s likely ready for harvesting. You’ll know your ginger is ready when the leaves start to die back. To harvest, carefully dig around the edges of the pot and gently pull the plant out of the soil. Rinse off any soil and let the root dry before storing.
Harvesting your ginger doesn’t mean the end of your plant’s life. You can replant part of the root with eyes and start the process all over again!
– Pro Tip: Freshly harvested ginger can be stored in a cool, dark place for up to three weeks. For long-term use, freeze unpeeled ginger and grate as needed.
Growing ginger in pots at home can be a rewarding experience. Not only will you be able to enjoy fresh ginger whenever you please, but you’ll also have the satisfaction of knowing it was grown by your own hand. By choosing the right type of ginger and a suitable pot, preparing your ginger carefully, ensuring correct planting and diligent aftercare, you can enjoy a healthy and productive ginger plant at home. Happy planting!
Key Takeaway:
- Selecting the best type of ginger and an appropriate pot is the first crucial step to successful ginger cultivation at home.
- Preparing the ginger correctly by identifying the ‘eyes’ and soaking the root accelerates germination and growth.
- Understanding the correct potting process, with the correct soil type and moisture level can prevent potential ginger plant failures.
- The ginger plant needs specific care including indirect sunlight, frequent watering, and regular feeding for successful growth.
- Harvesting ginger at the right time and method ensures a bountiful yield and prevents plant damage.
With careful attention to preparation, planting, care, and harvesting, growing ginger at home in pots can be a rewarding endeavor. You’ll be able to enjoy fresh ginger with the satisfaction that you grew it yourself. Best of luck with your home gardening journey!
FAQs
Q: Can I grow ginger in a small apartment?
A: Absolutely! Ginger can be successfully grown in a pot, making it a great choice for apartment dwellers with limited space. Just ensure it gets adequate indirect sunlight and care.
Q: Is it possible to grow ginger in a hydroponic system?
A: While this article doesn’t cover hydroponics, yes, ginger can be grown hydroponically though it may require more specialized equipment and knowledge.
Q: Can I regrow ginger from a piece I’ve harvested?
A: Yes, you can replant a piece of the harvested ginger, especially if it features several ‘eyes’ or growth buds.
Q: Do I need to fertilize my ginger plant and how often?
A: Yes, regular feeding with a balanced slow-release fertilizer or organic compost can significantly improve your ginger plant’s health and yield.
Q: How do I know when my ginger plant is ready for harvest?
A: Your ginger is likely ready to be harvested when the leaves start to die back, usually around eight to ten months after planting.
We hope you found this article helpful. Please feel free to share it and browse our website for more gardening tips and advice.
