Starting your own pineapple plant from an existing, store-bought fruit is simpler than you may think. Impress your friends and family with your green thumb, which leads to sweet, homegrown pineapples right from your garden or home. Let’s dive into the seven simple steps you can follow to make it happen.
Picking the Perfect Pineapple Top for Regrowth
Growing a pineapple from its top begins with selecting a healthy specimen. Prioritize pineapples with vibrant and plump leaves, indicating good health. Moreover, make sure the crown does not have any visible diseases or bugs.
Consider this checklist when selecting a fruit for propagation:
- Green, lush leaves
- No signs of insects
- Free of diseases
- Fresh appearance
- No brown or dried out leaves
A pro tip for pineapple selection: procuring your pineapple directly from a local farmer or trusted grocery store rather ensures the quality of the fruit you’re investing your green thumb in.
Preparing the Pineapple Top for Planting
First, twist off the top of the pineapple, firmly grasping the bottom of the leaves and turning it clockwise. Then, remove the lower leaves to expose the stalk, and trim off the outer portion of the pineapple top while ensuring you do not cut into the inner core.
You will want to let it dry for at least two days before planting; this is crucial to reduce the risk of rot. When drying the pineapple top, ensure it is placed in a dry and warm temperature environment to deter fungal growth. Properly trimming and drying the pineapple top beforehand plays a pivotal role in the successful growth of the plant.
Germinating the Pineapple Top
As with most plant propagation, germination is a waiting game that requires patience. The pineapple top needs to sit in a shallow dish filled with water until roots appear, usually within 1-3 weeks. Ensure the pineapple top gets enough warmth and sunlight during the germination process.
Despite the anticipation, propagating a pineapple at home allows you to learn and appreciate the intricate process of plant life. Besides, observing the gradual transformation from a discarded fruit top into a thriving plant can be an incredibly rewarding experience.
Gearing Towards the Next Steps…
Now that you’ve chosen the perfect pineapple, prepared it correctly, and successfully germinated it, what comes next includes planting this top in soil, caring for it, repotting when necessary, and ultimately, harvesting your home-grown tropical fruit. These steps, while they require some dedication and care, will ensure a robust and fruitful pineapple plant. Soon enough, you’ll relishing the sweet tastes of your labor with home-grown pineapples!
Planting the Germinated Pineapple Top
Finally! The moment you’ve been waiting for has arrived. Get your hands (or gardening gloves) dirty by planting the germinated pineapple top. Start by selecting a wide and deep pot that offers plenty of room for growth. Use rich, well-draining potting soil to fill up your pot, leaving just enough space to place the germinating top.
Remember, you should:
- Select a suitable pot and potting soil
- Create a hole deep enough to cover the root section of the pineapple top
- Position the pineapple top at the center of the pot
- Fill in the remaining space with extra soil
A nifty tip for planting time: when positioning your pineapple top, ensure it sits centrally in the potting pot, holding it upright. Careful positioning ensures even growth on all sides and yields healthier plants.
Caring for Your Pineapple Plant
With the pineapple top snug in its pot, your primary focus is now on nurturing it to maturity. Keep it in a sunny location, preferably a south-facing window. Regularly water your pineapple plant, particularly when the soil feels dry to the touch.
Here’s a quick checklist for pineapple plant care:
- Provide 6-8 hours of sunlight per day
- Water thoroughly but let the soil dry out between waterings
- Protect against pests such as scale insects
Here’s an interesting comparison to ponder: Pineapples, like succulents, possess a great deal of resilience, making them an excellent choice for busy or forgetful plant parents. Yet, comparing both plants, pineapples require slightly more care, especially when it comes to sunlight and watering.
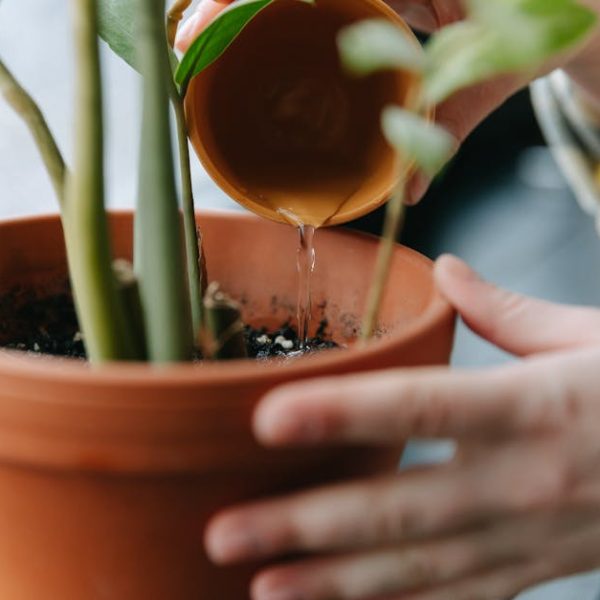
Transplanting and Repotting Your Pineapple Plant
Over time, as your pineapple plant grows, you may need to repot it for optimal growth. Typically, a plant will need to be repotted if it’s outgrown its current pot, or if you notice that the potting soil is depleted.
To repot correctly:
- Gently remove your pineapple plant from its current pot
- Choose a slightly larger pot with appropriate drainage holes
- Use a fresh, well-draining potting mix to fill it
A good practice to follow: when choosing a new vessel for your plant, select one that is about 2 inches larger in diameter than the current pot. This allows room for growth, but isn’t so big that your plant can’t absorb the water properly.
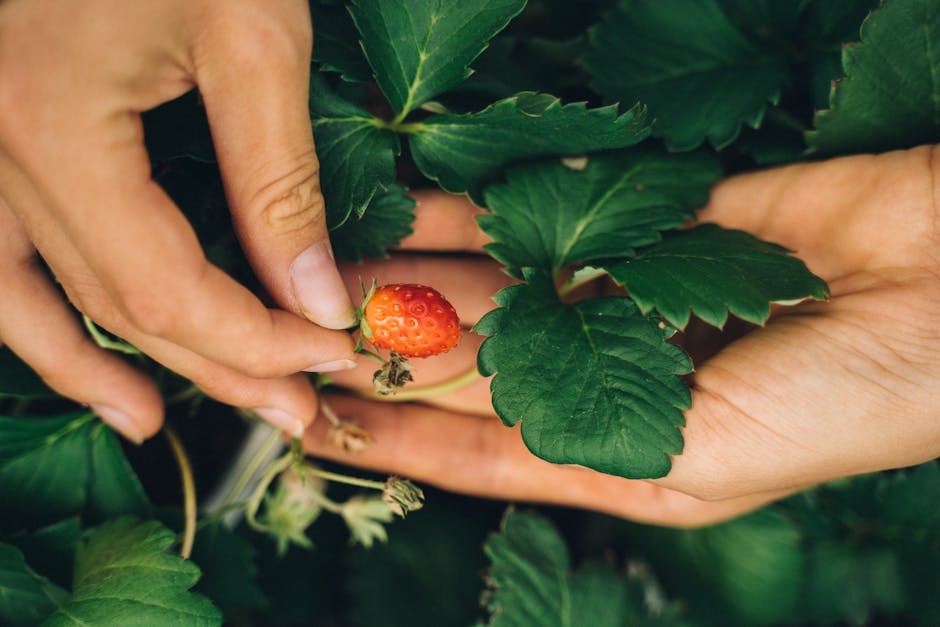
Harvesting Your Home-Grown Pineapple
Harvesting a home-grown pineapple is a rewarding and flavorful experience. Identifying a ripe pineapple requires observance of a few key signals such as a rich golden color, fragrant sweet smell, and slight give when the pineapple is pressed.
To harvest properly:
- Ensure the pineapple is fully ripe
- Twist and remove the pineapple from the stalk
- Let it sit for at least one day to mellow the juices
A delightful tip to remember once you have harvested your pineapple: Savor the delicious fruit fresh or use it to liven up a myriad of dishes, from sweet to savory. The crisp and juicy taste is sure to remind you that the hard work you put into its growth was worth it every step of the way. Before you know it, you’ll be back at the start, selecting your next pineapple top and beginning the process all over again!
Key Takeaway:
- Growing home-grown pineapples from tops is possible with careful selection, preparation, and maintenance. A good pineapple top is vibrant, disease-free, and sourced from reputable stores.
- Proper preparation and drying are necessary to promote growth and prevent rotting.
- Germinating the top requires patience, warm sunlight and adequate water.
- Post-germination steps include planting, regular care, repotting if necessary, and finally – harvesting the ripe pineapple.
Don’t be daunted by the process – it’s not as complex as it seems. Moreover, the joy of relishing a pineapple you’ve grown yourself makes it an unexpectedly refreshing and rewarding hobby. So, don your green thumb, and get ready for some fruitful fun at home!
FAQs
Q: What is the best time of year to start growing pineapples at home?
A: Pineapples can be started indoors at any time of the year. Do ensure they are kept in a warm, sunny spot to foster good growth.
Q: Do pineapples need to be repotted frequently?
A: Pineapples should be repotted when they outgrow their current pot or when the soil appears depleted. Always choose a pot slightly larger than the previous one.
Q: Can the same pineapple top be used to grow multiple fruits?
A: No, each pineapple top can only produce one plant which in turn produces one fruit. However, the top of the harvested pineapple can be used to start a new plant.
Q: How long does it take to grow a pineapple at home?
A: Growing a pineapple at home can take anywhere from 18 to 24 months to produce fruit, as it’s a slow-growing plant.
Q: What should I do if my pineapple plant gets infested with pests?
A: If your pineapple plant gets infested, it’s recommended to use natural remedies first such as neem oil or soapy water. For severe infestations, you might need to consider store-bought pesticides specifically designed for fruit plants.
We hope you found this guide enlightening! Feel free to share it and explore more posts on our website to help you nurture your green thumb.