The art of bucket composting is a simple yet effective solution for reusing kitchen and yard waste in a greener way. Essentially, it’s about creating a miniature version of the nutrient-rich, soil-like matter farmers call ‘black gold,’ right in your everyday 5-gallon bucket. This approach offers both individual benefits, such as creating sustainable fertilizer for home gardens, as well as broader environmental advantages, since it helps reduce the amount of organic waste sent to landfills.
The secret behind successful composting lies in maintaining a careful balance of moisture, temperature, and oxygen levels within the compost bucket. As a top strategy, it helps to make sure your bucket has adequate drainage; otherwise, your compost could easily turn mucky and waterlogged. Plus, diversity is crucial in the composting game. Your compost needs a medley of organic material types to secure a well-rounded nutrient profile.
Nailing the Nutty and Bolts of your DIY Composting Kit
As for constructing your DIY compost bucket, the choice of materials can make or break the functionality of your setup. Above all, prioritise durability and operational feasibility.
A clean, food-grade five-gallon bucket with a lid works great as a compost bin. To ensure adequate aeration and drainage, you’ll need a drill to create broth ventilation and drainage holes. Lastly, having netting or wire mesh can help you cover the holes at the bottom to prevent the compost from escaping.
Pro Tip: How about a dark-coloured bucket? Such buckets absorb more heat and can speed up the composting process, making them an ideal choice for your bucket-composting endeavor!
Knowing What You CAN Compost and What You CAN’T
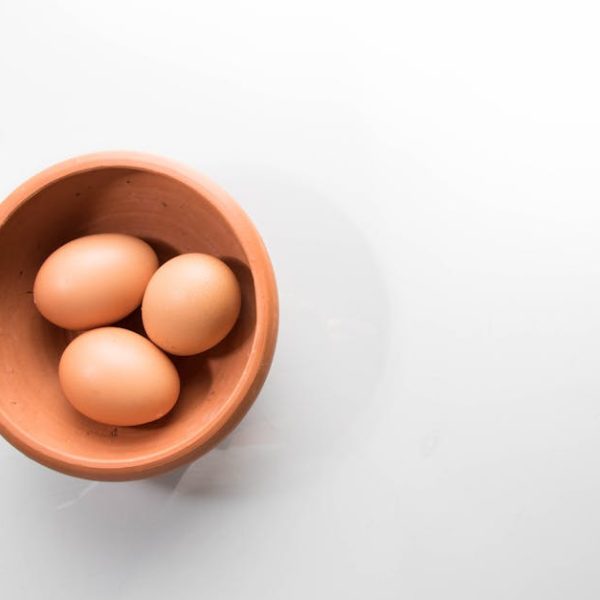
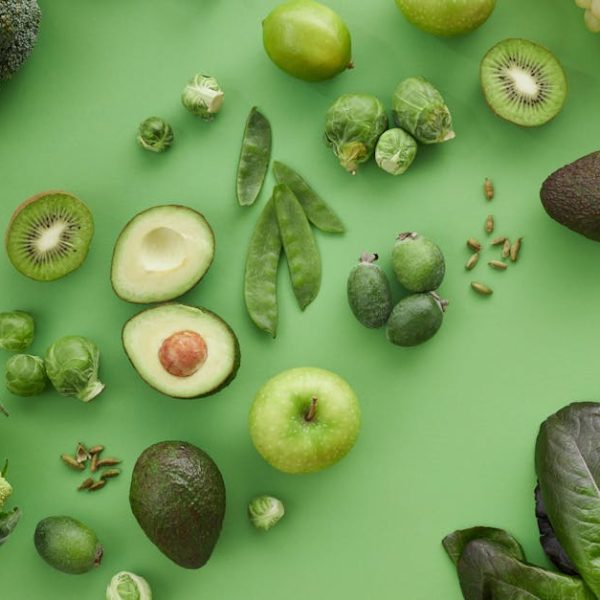
The real magic in a compost bucket starts with knowing what you can and cannot compost. Green materials – think vegetable scraps, coffee grounds, and grass clippings – offer a great source of nitrogen. On the other hand, brown materials like leaves, straw, and dead branches provide carbon. Both these ‘ingredients’ are vital for a well-rounded compost.
However, be cautious against including meat, dairy, or diseased plants in your compost. These materials can often introduce unwanted pests or diseases and undesirably slow down the composting process.
Begin Building: A Step-by-Step Guide
The process of setting up your unique DIY compost bucket is straightforward and rewarding. Start by locating a suitable bucket and lid. Then, drill holes into the bottom and sides for ventilation and drainage, and cover those at the bottom with netting or wire mesh.
Now, comes the fun part – layering your composting materials. Start with a layer of brown material, followed by a layer of green material. Add a handful of garden soil to speed up the composting process.
Pro Tip: Regular turning of compost material is quintessential to ensure it’s being broken down evenly.
Mastering Compost Maintenance and Troubleshooting
Once your compost bucket is rolling, it needs regular maintenance to ensure the composting process continues smoothly. The composting magic happens when you regularly turn your compost, maintain moisture levels, and keep a healthy balance of green and brown materials.
However, don’t sweat if things go awry – troubleshooting is a part of the composting process too! For instance, if your compost feels too dry or too wet, adjust by adding more green or brown material respectively. And in case you spot some unwanted visitors, don’t panic – Consider adding a layer of garden soil on top of your kitchen waste, as that can help speed up the composting process and deter pests.
Pro Tip:: Regularly adding a thin layer of garden soil can not only speed up the composting process but also help to suppress any potential odours.
With the right know-how and a bit of patience, you’ll be bucket composting like a pro in no time. Best of luck on your composting journey!
Harnessing the Power of Bucket Composting
Bucket composting might sound complicated, but in reality, it’s a straightforward and efficient method of recycling your home and garden waste. The concept centers around turning organic matter into nutrient-rich compost using a simple bucket. This eco-friendly practice not only offers individual benefits like free, homemade fertilizer for your houseplants or garden but also contributes to the broader environmental goal of reducing waste sent to landfills.
To keep your compost healthy, it’s paramount to ensure your bucket has sufficient drainage. Too much moisture can turn your compost soggy and less effective. At the same time, incorporating a diverse range of organic materials into your composting mix helps provide a comprehensive nutrient profile. So, remember to alternate between, say, kitchen scraps and yard clippings for healthy, fertile compost.
Assembling A Robust DIY Compost Bucket
The DIY approach to bucket composting is all about picking the right materials. Your composting effectiveness hinges on your chosen equipment’s durability and function.
- Start with a clean food-grade five-gallon bucket with a lid. This size is convenient and spacious enough for an average household’s composting needs.
- Use a drill to create holes in your bucket and lid. These act as ventilation and drainage points, crucial for healthy composting.
- Finally, cover the holes at the bottom with netting or wire mesh to keep your compost secure.
Pro Tip: Dark-colored buckets have a bonus benefit. They can absorb more heat, speeding up the decomposition process, and bringing you quicker composting results.
Choose Your Compostable Materials Wisely
Your compost quality is directly proportional to what you put into your bucket. Green materials like vegetable scraps, coffee grounds, and grass clippings offer a wealth of nitrogen, while brown materials like dry leaves, straw, and paper are rich in carbon. Together, these two categories form the basis for well-composted, nutritious garden compost.
However, tread carefully with composting meat, dairy, or diseased plants. These materials could attract pests or slow down the composting process and are generally best kept out your composting bucket.
Nailing the Bucket Composting Process
Setting up your compost bucket is a rewarding process. Start by preparing your bucket and lid. Use your drill to punch holes around the sides and the bottom of your bucket, then cover the drainage holes with netting or mesh. Now, you’re all set to start your composting.
Begin compost layering with brown and green materials, and add a dash of garden soil on top. Ensure that you turn your compost frequently for even decomposition.
Pro Tip: Make it a point to rotate your compost material. This action helps distribute air and moisture evenly, aiding in the efficient breakdown of organic matter.
Tackling Compost Maintenance and Challenges
A lively compost bucket requires regular love and care. Remember to turn the compost regularly, check and balance moisture levels, and keep watch for any potential pests or undesirables. If anything seems off—like your compost pile is too dry, too wet, or infected by pests—don’t worry. With a few tweaks and adjustments, you can get your compost back on track.
Pro Tip: Adding a layer of garden soil on top of your compost pile can hasten the composting process while reducing potential need for pest management. Regularly incorporating a thin layer of garden soil into your compost can also help contain any unpleasant odors.
Armed with these tips and best practices, you’re all set to master the art of bucket composting. It might take some trial and error, but the reward of nutrient-rich soil and a healthier, more sustainable home, is well worth the patience and effort. Happy composting!
Key Takeaway:
- Bucket composting is a simple, eco-friendly way of recycling kitchen and yard waste into nutrient-rich compost.
- Adequate drainage in the compost bucket is essential to prevent excessive moisture build-up.
- Using a diverse range of organic materials creates a robust nutrient profile in the compost.
- The DIY compost bucket should be durable with a drill and netting or wire mesh for aeration and drainage purposes.
- Meat, dairy, and diseased plants should generally be avoided in compost, as they can attract pests or slow the process.
- Regular maintenance of the compost bucket, including frequent turning of the compost materials, is vital for successful composting.
Bucket composting is a rewarding and sustainable practice offering both individual and broader environmental benefits. So, get your hands dirty, and don’t be afraid to experiment. With patience and perseverance, you’ll soon be reaping the benefits of your homemade compost. Enjoy the journey of turning waste into ‘black gold’.
FAQs
Q: What kind of bucket is best for composting?
A: A clean, food-grade five-gallon bucket with a lid is an excellent choice. Dark-colored buckets can be particularly effective as they absorb more heat, speeding up the composting process.
Q: How often should I turn compost in a bucket?
A: Regular turning of compost helps in even decomposition. Aim for at least once a week – more frequently if you notice the compost is not breaking down evenly.
Q: Can I compost leftover cooked food in the compost bucket?
A: While it’s possible to compost cooked food, it’s generally advisable to stick to raw plant-based waste. Cooked food, especially meat and dairy, can attract pests or cause unpleasant odors.
Q: How long does it take for compost to be ready in a bucket?
A: Composting time can vary depending upon factors like material types, compost care, and temperature. Generally, it can take anywhere from 2 months to a year for compost to fully mature.
Q: My compost bucket has a bad smell, what could be the cause?
A: Typically, a bad smell in the compost bucket suggests an imbalance. It could be caused by excess moisture, lack of oxygen, or incorporating the wrong materials like meat or dairy. Regularly turning the compost, maintaining optimal moisture, and using the right materials generally helps prevent odors.
We hope you’ve found this guide helpful. Feel free to share the article with others who might be interested in bucket composting, and explore our website for more insights on eco-friendly practices.