Without a doubt, the process of growing Bok Choy in pots is just as fulfilling as it is convenient. This leafy green vegetable, known for its mildly sweet flavor profile and pivotal role in several Asian dishes, makes for an excellent container crop. The cultivation process, albeit straightforward, requires a keen understanding of the plant’s preferences and care requirements—an understanding we’re eager to provide.
Choosing the Right Pot for Your Bok Choy
The choice of pot plays a significant role in the successful cultivation of bok choy. Generally, plastic, clay, and ceramic pots are viable options, each bringing unique benefits and challenges. While plastic pots are lightweight and cost-effective, they have a propensity to retain moisture—something that doesn’t bode well for plants susceptible to root rot. In contrast, clay and ceramic options afford improved aeration and drainage yet may demand frequent watering due to their porous nature.
When it comes to size, consider a pot that’s at least 6-10 inches deep to accommodate the plant’s root development. Smaller pots may impede growth potential, while larger options could unnecessarily lock away moisture, inviting root diseases.
- Pro Tips: Look for pots with integrated drainage to prevent water logging.
Understanding Bok Choy’s Growing Conditions
Bok Choy, like any plant, has its preferred growing conditions. Strong, long-lasting exposure to sunlight is crucial, as is a moderate temperature range between 55-70°F.
As for moisture, while Bok Choy prefers evenly moist soil, water-logged conditions are less than ideal. Striking a balance is key here.
- Checklist: Minimum of 4-6 hours of sunlight daily, temperatures between 55-70°F, and regular watering to maintain even soil moisture.
Your chances of growing bumper Bok Choy greens are significantly enhanced when you understand and implement these conditions.
Planting Bok Choy in Containers
Before planting your bok choy seeds, it’s crucial to prepare your pots with a suitable soil-compost mix. Bok Choy thrives in well-drained, fertile soil enriched with organic compost or well-rotted manure. Sow your seeds approximate 0.5 inch deep and cover loosely with soil.
Maintain consistent moisture levels but avoid waterlogging to encourage germination. Once the seedlings reach 2-3 inches in height, thin out to ensure each plant has enough space to grow.
- Pro Tips: If starting indoors, gradually expose the seedlings to outdoor conditions (hardening off) before transplanting to prevent shock.
Remember, the success of your Bok Choy growth greatly hinges on the foundation you establish—make each step count.
Regular Care and Maintenance for Bok Choy in Pots
Once your Bok Choy is planted and on its way to becoming a sturdy plant, it’s important to provide ongoing care and maintenance. Regular watering is key, but remember, Bok Choy prefers evenly moist soil, so try not to over or under water. A good rule of thumb is to water when the top 1 inch of soil feels dry.
Fertilizing once or twice during the growing season can be beneficial. A balanced, organic fertilizer can help boost growth. Also, rotate your pot to ensure the plant gets even sunlight.
Keep a lookout for pests and diseases – the most common being aphids, snails, or fungal diseases. Quick identification and response can save your plant. A daily visual check and routine spritzing with an organic pest repellent can go a long way in preventing major issues.
- Checklist: Regular watering, occasional fertilization, pest/disease monitoring, and routine rotation.
- Best Practices: Keep soil consistently moist but not soggy, use organic pesticide, and rotate the pot for even sun exposure.
- Pro Tips: During the growing season, if you notice your Bok Choy bolting (sending up a flower stalk), pinch off the flower to encourage more leaf growth.
Harvesting and Using Grown Bok Choy
When your Bok Choy reaches a height of about 12-18 inches, it is likely ready for harvest. As a guideline, the leaves should be vibrant green, with firm white stems.
Harvesting in the morning will yield crisper leaves, as the plant is filled with moisture from the cool night. Use a sharp knife to cut at the base of the plant, leaving a little of the stem so the plant can regrow.
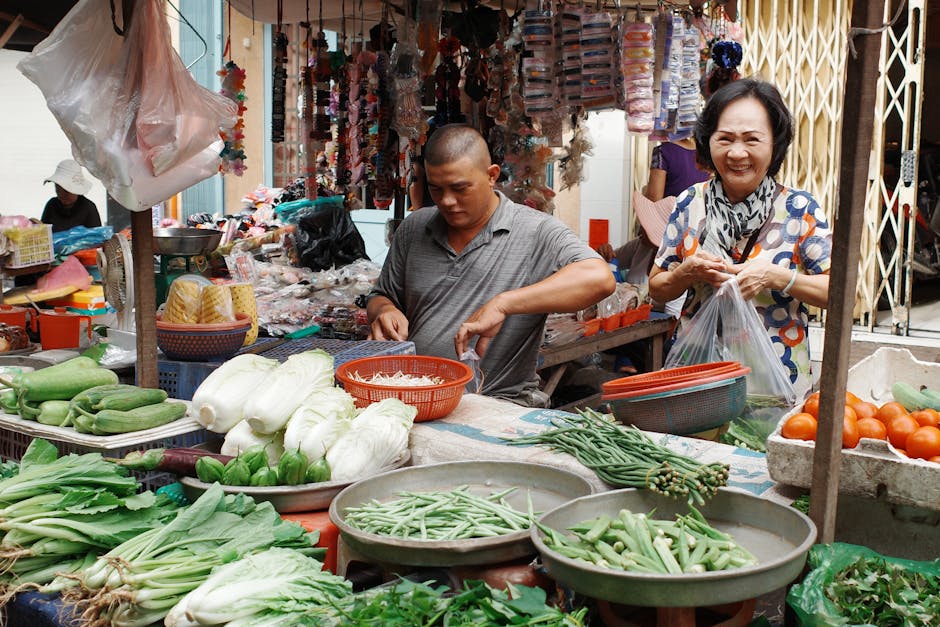
After harvesting, you can use Bok Choy in a variety of dishes. It can be stir-fried, steamed, or used in soups, making it a versatile choice for healthy and delicious meals.
- List: Bok Choy should be approximately 12-18 inches tall, featuring vibrant green leaves and firm white stems for optimal harvest.
- Versus: Early morning harvesting can yield crisper leaves, but late-afternoon harvesting can be more convenient for some growers. Both methods, if done correctly, will give you good results.
- Pro Tips: To encourage a second crop, don’t pull up the entire plant while harvesting. Instead, cut just above soil level, leaving about 1-2 of the plant base intact.
Growing your own Bok Choy in pots can be a rewarding experience. By understanding and implementing these tips, you can enjoy fresh, hearty Bok Choy from your very own garden. Soak in the satisfaction of watching your Bok Choy progress from a tiny seed, flourish into a healthy plant, and finally land on your dinner plate – truly a garden-to-table triumph!
Key Takeaway:
- The most fundamental step in growing Bok Choy successfully in pots is understanding and implementing the right growing conditions: quality soil and compost mix, adequate sunlight, a temperate climate, and consistent moisture.
- Regular care and maintenance are critical. This includes regular watering, occasional fertilization, and pest/disease monitoring. Rotation of the pot is also important for equal sun exposure to the entire plant.
- The right time to harvest Bok Choy is when it’s 12-18 inches tall, with vibrant green leaves and firm white stems.
- Finally, most growers find satisfaction in using their freshly grown Bok Choy in various culinary dishes.
Planting, growing, maintaining, and harvesting Bok Choy in pots can be incredibly rewarding – especially when done right. Understanding the needs of this leafy green oriental vegetable makes the process not just fruitful, but also immense fun. Watching Bok Choy grow from tiny seeds to hearty vegetables right before your eyes, and finally serving them on your table, can be a profoundly gratifying experience – a garden-to-table triumph indeed!
FAQs
Q: Are there specific varieties of Bok Choy that are more suitable for pot gardening?
A: Most types of Bok Choy can grow well in a pot as long as you provide the right conditions. However, smaller or baby varieties might be more suitable as they take up less space and mature faster.
Q: Can I grow Bok Choy indoors all year round?
A: Absolutely, provided you can replicate the necessary growing conditions indoors such as sunlight, temperature, and watering needs.
Q: What kind of diseases can affect my potted Bok Choy, and how can I handle them?
A: Diseases like fungal infections and pests such as aphids and snails tend to target Bok Choy. You can manage these issues by keeping the plant environment clean, using organic fungicides or pesticides, and routinely checking your plants for early signs of diseases.
Q: Can the planted pots be moved around?
A: Sure, you can move the pots to optimize sunlight exposure or protect the plants during extreme weather conditions. Just make sure to do it gently to avoid damaging the plant roots.
Q: How can I use my harvested Bok Choy?
A: Bok Choy is highly versatile in the culinary world. You can stir-fry them, steam, or use them in soups, salads, and noodle dishes.
Feel free to share this article and explore more posts on our website for a variety of gardening tips. Happy gardening!


