The delightful taste of sun-warmed, home-grown blackberries is an unparalleled culinary experience. Being able to grow your own blackberries not only promises great flavor, but also the satisfaction of tending to your garden. So, how do you cultivate these marvelous fruits in your backyard or garden? This guide will unfold all you need to know.
### Choosing the Right Variety of Blackberries for Your Garden
There are numerous varieties of blackberries available, each having its own unique flavor, growth requirements, and disease resistance. Some popular varieties include Natchez, Apache, Ouachita, and Navaho, each distinguished by their fruiting habits and plant vigor. While some thrive under different climatic conditions, others can do well in a wide range of soil types.
When choosing a variety, consider your local climate and soil conditions. If your area encounters chillier winters, then opt for cold-hardy varieties such as ‘Arapaho’ or ‘Prime Ark Freedom.’ Conversely, if your area is warm year-round, heat-tolerant varieties like ‘Ouachita’ will probably be a better fit. Also, indulge in a quick taste test if you can, before finalizing the variety – after all, enjoyment is the end goal of your blackberry endeavor!
In short, your checklist should consider:
- Your local climate and soil conditions
- The flavor profile you prefer
- The plant’s resistance to pests and diseases
- The berry’s shelf life and freezing quality
Remember, the world of blackberries extends beyond a simple binary choice of thorny or thornless.
### Preparing Your Garden for Blackberry Planting
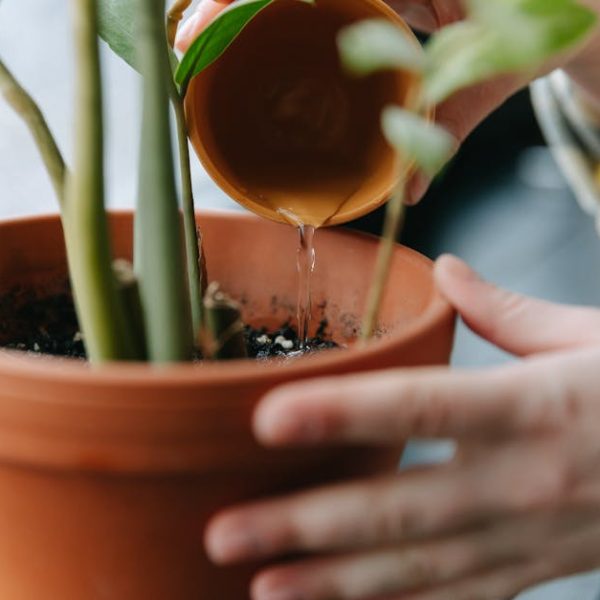
Now that you’ve chosen your blackberry variety, it’s time to prepare your garden. The first step is to test your soil pH. Blackberries prefer slightly acidic soil, with a pH ranging from 5.5 to 7. Imagine the pH as your garden’s groundwork – it’s what helps the plants absorb the vital nutrients they need to thrive.
Enrich your soil with organic compost or fertilizers to improve its fertility. If your soil is heavy clay or sandy, augment it with compost or aged manure. From ample sunlight to ensuring well-drained soil, the goal is to create an optimal blackberry-friendly environment.
Comparatively, the decisions you make selecting among seeds, rooted cuttings, and bare root plants can dramatically impact both the initial success of your plantings and the long-term productivity of your blackberry patch. For beginners, rooted cuttings or bare-root plants are easier to manage and often yield fruit sooner.
### Planting and Caring for Your Blackberries
Planting blackberries involves more than simply digging a hole in your garden. There’s timing to consider (early spring is ideal), correct depth and spacing, and a regular watering schedule. But don’t fret – it’s all relatively straightforward with the right guidance. You’ll also need some essential garden tools including gardening gloves, a spade, and a watering can or a hose.
As your blackberries grow, they will require some attention. Pest control, pruning for growth management, and providing support through trellising are all part of the process. But these tasks have their silver linings, as you will witness the remarkable growth firsthand, and the promise of juicy blackberries is undeniably motivating.
Next, we will delve into the harvesting process – an equally rewarding step in your blackberry growing journey. ### Harvesting and Storing Your Blackberries
Picking up your ripe, matured blackberries is a significant payoff of your diligent planting and caring efforts. The best time to pick blackberries is when they have ripened to a deep black color and they easily detach from the plant. But a word of caution: Blackberries don’t ripen post-harvest, so avoid the temptation of picking prematurely.
Once the harvesting is done, consider storage. Freshly picked blackberries only remain good on the counter for a couple of days. However, to extend their shelf-life, you could refrigerate them, but make sure not to wash the berries until you’re ready to eat them (or use them) as they absorb water easily and can become mushy. If you plan to keep the berries for a longer duration, say a winter supply, freezing is your best bet; just spread the berries out on a baking sheet, freeze them, and then transfer them into bags.
Here’s a pro tip: don’t throw away those overripe or spoiled berries; they are excellent candidates for jams, jellies, and syrups.
### Using Your Homegrown Blackberries
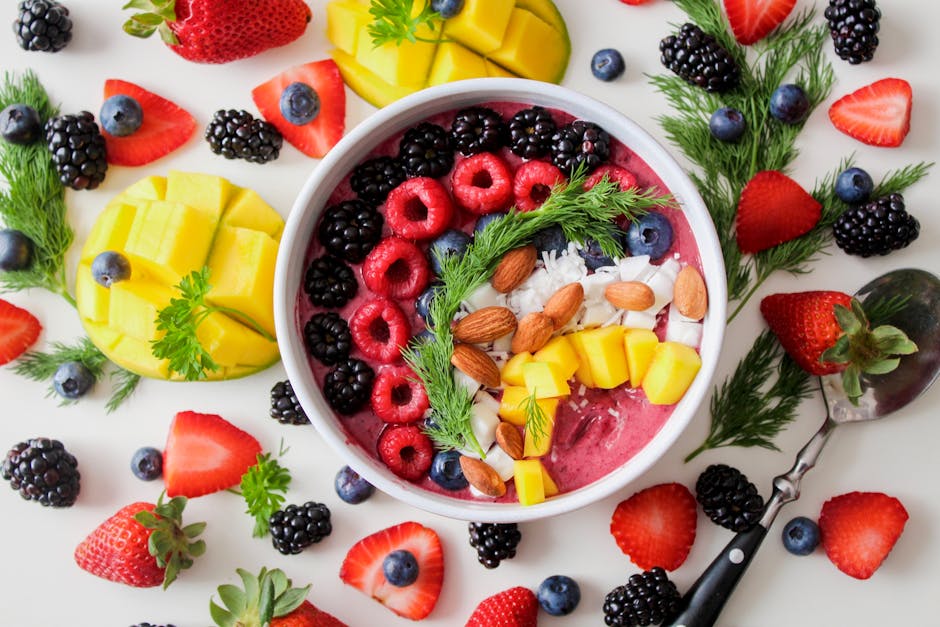
Congratulations – you now have a treasure trove of homegrown blackberries! The possibilities to indulge in are endless. Blackberries can be eaten fresh or incorporated in many dishes ranging from starters and main courses to desserts and drinks. They are great in pies, tarts, cookies, wines, salads and as a yoghurt or cereal topper. Also, they can be preserved in forms of jams, jellies, and syrups to further extend their shelf life and to offer diverse culinary inclusion.
Prior to cooking or eating, rinse the blackberries under cool water. Use a colander to ensure even draining. Then gently pat them dry with a paper towel.
Now that you are well-versed in the process of growing, caring, and using blackberries, it’s time to start planting. Happy gardening!
Key Takeaway:
- Different varieties of blackberries have unique growth requirements and flavors, which means choosing the most suitable variety is crucial to successful cultivation.
- Soil preparation is necessary for optimal blackberry growth. Making the soil nutrient-rich by adding organic compost or fertilizers, ensuring its pH is within the 5.5 to 7 range and monitoring soil moistness are all essential steps.
- Planting techniques such as correct timing, depth, and spacing impact the fruit yield. Use of rooted cuttings or bare root plants is easier for beginners.
- Taking care of your blackberry plants involves pest control, pruning, and trellising.
- Harvesting blackberries at the right time ensures the best flavor. Storing techniques can further extend their shelf life.
- Homegrown blackberries can be used in many different ways, including making jams, jellies, and syrups, or incorporating them into various dishes.
Starting a home blackberry garden may seem quite a task, but the wisdom shared in this guide makes it significantly more achievable. With the right variety, proper planting techniques and adequate care, you’ll soon be reaping a bountiful harvest of juicy blackberries. So, embrace this rewarding challenge and let your blackberry journey begin!
FAQs
Q: How much space do I need to start a home blackberry garden?
A: Blackberry plants require ample space to grow, particularly if you choose a sprawling variety. A single blackberry plant can grow up to 4-6 feet wide and as tall. Therefore, ensure you have enough space before starting your blackberry garden.
Q: How often should I water my blackberry plants?
A: Blackberry plants require regular watering, especially in dry periods. However, avoid overwatering as it can cause root rot and other diseases.
Q: Are blackberries prone to pests and diseases?
A: Like any plant, blackberries can be affected by pests like aphids and diseases such as powdery mildew. Regular monitoring and using environmentally-friendly control measures can help keep these problems at bay.
Q: How can I use blackberries apart from making jams and jellies?
A: Blackberries are incredibly versatile. You can use them in baking, make syrups, sauces, and beverages, or simply enjoy them fresh out of the garden.
Q: Can I grow blackberries in pots?
A: Yes, blackberries can be grown in pots, especially if you choose a dwarf or compact variety. Make sure the pot is big enough to accommodate the plant’s growth and has drainage holes.
Don’t hesitate to share this guide with fellow gardening enthusiasts and check out our range of articles for more gardening tips and insights! Enjoy the journey ahead in the blackberry garden!