Learning how to grow kale indoors can offer year-round access to this nutrient-dense leafy green, even in small spaces or areas with a harsh climate. Moreover, indoor planting allows growers to mitigate surprises from unpredictable weather patterns and garden pests.
Step 1: Selecting Suitable Containers
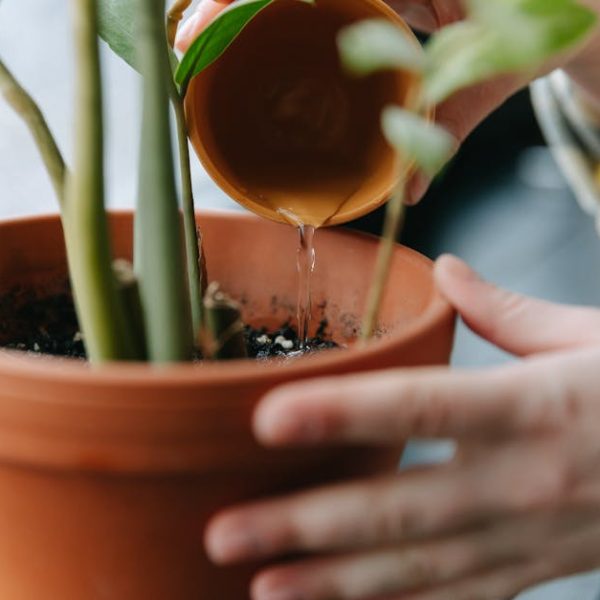
The first step towards growing kale indoors is getting an ideal container. A sizeable pot with efficient drainage holes at the bottom is crucial to avoid waterlogging, which can lead to root rot.
Step 2: Preparing The Potting Mix
Sterilized, nutrient-rich potting soil makes an appropriate starting point for kale. The soil should be loose and well-draining, a quality paramount in preventing water stagnation and fostering good root health.
Step 3: Sowing The Seeds
Plant kale seeds approximately ¼ to ½ inch deep in the soil. Ensure to space them around 3 inches apart to provide ample room for growth.
Creating The Ideal Conditions For Growth
For kale to flourish indoors, providing the optimal growing conditions is necessary. This includes adequate light, temperature, and humidity.
While kale typically thrives under full sunlight, it can also survive under partial shade. If sunlight is sparse, a grow light can serve as a replacement, offering a consistent, adjustable light source. However, they do consume electricity and may require an initial investment.
A tip for growers is to utilize a hygrometer, a device that measures indoor humidity, to ensure it is in the ideal 60% range.
Ongoing Care For Indoor Kale
Proper ongoing care is key for a thriving kale plant, involving regular watering, occasional fertilization, and consistent checks for pests.
When watering kale, it’s essential to keep the soil moist but not waterlogged. A good rule of thumb is to water your kale once the soil’s top inch is dry. It’s beneficial to fertilize kale every four to six weeks but avoid over-fertilizing, which can lead to excessive growth with reduced flavor.
Perhaps one of the trickier aspects of indoor gardening is the potential for houseplant pests. It helps to remain vigilant, inspecting your kale plant frequently to catch any bugs before they become a significant problem.
Harvesting and Using Kale Grown Indoors
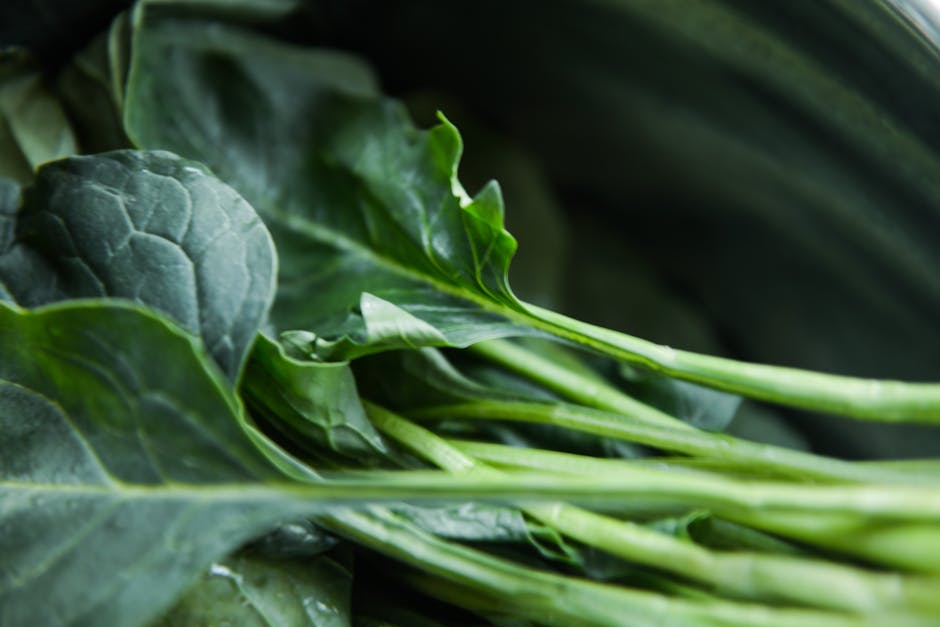
The best part about growing kale indoors is the joy of harvesting fresh greens at home. The ideal time to start harvesting is when the kale leaves are roughly the size of your hand.
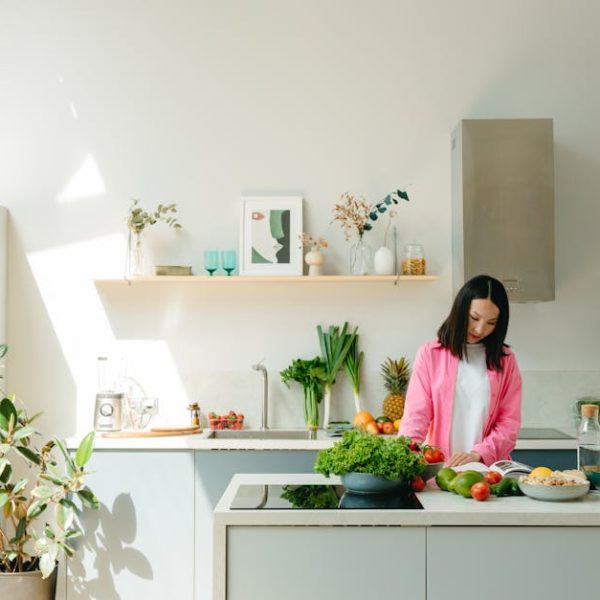
Indoor kale can spice up various meals, including salads, smoothies, or as a hearty side dish at dinner. It can be stored in the refrigerator for about a week or blanched and frozen for future use.
Troubleshooting Common Problems When Growing Kale Indoors
Successful indoor gardening requires overcoming certain challenges, which differ from those of outdoor planting. For instance, one may have to deal with issues like pests, wilted leaves, or stunted growth. Knowledge about these issues and their causes is critical for timely response and resolution.
Regularly inspecting your kale can help you identify these problems early and stay on top of your kale’s health. A proactive pest control approach coupled with good plant care practices can go a long way in ensuring the success of your indoor gardening endeavor.
In conclusion, growing kale indoors may require a bit of effort and patience initially, but the array of benefits it brings forth makes the effort worthwhile. With our step-by-step guide and valuable tips, you can easily cultivate your indoor kale garden and enjoy a steady supply of fresh greens.
Required Items
Starting off with the right tools and materials sets the stage for a successful indoor garden. To plant kale indoors, you’ll need:
- A pot or planter with efficient drainage. Avoid containers without holes as they could lead to waterlogging and root rot.
- Nutrient-rich, well-draining potting soil. Traditional garden soil is too heavy and doesn’t drain well for indoor containers.
- Kale seeds. These can be found online or in garden stores. Opt for organic seeds if possible.
- A watering can with a long spout for easy and precise watering.
Steps for Successful Germination
The process of germination begins when your kale seeds start sprouting, with the proper methods ensuring a strong start for this crucial stage.
- Moisten the soil before planting your seeds. Damp, not saturated, soil helps kickstart germination.
- Plant the seeds at the correct depth. Burying them too deep makes it harder for the sprout to reach the surface.
- Keep the pot in a warm area. Kale seeds germinate best in temperatures between 65-75°F (18-24°C).
- Be patient. Germination usually takes 5-8 days, but can sometimes take up to two weeks.
Understanding the Ideal Conditions for Growing Indoor Kale
Just like humans, plants thrive under favorable conditions. Considering factors like light, temperature, and humidity can make a significant difference in your kale’s growth pattern.
Light
Kale is a sun-loving plant but can tolerate some shade. In the absence of adequate natural sunlight, you could use a grow light. Unlike sunlight, whose intensity and duration can be unpredictable, grow lights provide consistency and are adjustable to your plant’s needs. However, remember to factor in the cost of electricity and the initial investment into your gardening budget.
Temperature
Being a cool-season crop, kale does well at temperatures between 60-70°F (15-21°C). Outside this range, growth may be inhibited.
Humidity
Ideal indoor humidity for kale is around 60%. Any less could lead to dry air, causing the leaves to lose moisture and wilt. Consider using a hygrometer, which measures indoor humidity, to maintain optimal conditions.
The Proper Care for Indoor Kale
Indoor kale requires continuous care for it to thrive. Regular watering, fertilization, and pest monitoring are key components of this.
- Water your kale when the top inch of soil feels dry to the touch, making sure the water drains out the bottom of the pot without leaving the soil soggy.
- Applying a balanced all-purpose organic fertilizer every 4-6 weeks will help provide the nutrients your kale needs for optimum growth.
- Keep an eye out for pests. Early identification and swift action can prevent an infestation that could potentially damage your plants.
Harvesting and Using Indoor Kale
Once your indoor kale reaches a desirable size, you can start to harvest. Here are a few tips:
- Start by harvesting the outermost leaves, allowing the center leaves to continue growing.
- Harvest in the morning when the plant is fully hydrated for crisp, fresh leaves.
- Incorporate harvested kale into your meals as salads, sautés, in smoothies or in side dishes for a flavorful and nutritious addition.
- Storing kale properly guarantees its longevity, ideally in a perforated bag in the vegetable drawer of your fridge. If you have a larger harvest, consider blanching and freezing for future use.
Troubleshooting Indoor Kale Growing Problems
Even with the best care, issues can arise when growing kale indoors. Here’s what to look out for:
- Pests: Common ones include aphids and whiteflies. Consider using a mild soap solution or specific pesticides to combat these.
- Wilted Leaves: Often a sign of overwatering or underwatering. Adjust your watering schedule accordingly.
- Poor Growth: Usually related to inadequate light or nutrients. Consider moving your plant to a well-lit area or increasing fertilization.
In conclusion, growing kale indoors might seem daunting at first but it’s a rewarding endeavor. With the right steps and continuous care, you’ll be harvesting fresh, homegrown kale in no time. Happy gardening!
Key Takeaway:
- Kale can thrive indoors, providing a year-round supply of nutrient-dense greens. The process involves selecting suitable containers, preparing the soil, and sowing seeds with adequate spacing for growth.
- Proper care involves creating optimal growing conditions to include sufficient light, suitable temperature, and maintaining ideal humidity.
- Regular watering when the top soil is dry, periodic fertilizing and regular pest checks are crucial for kale’s health.
- Harvesting should promote continuous growth, with the leaves being used in various dietary options.
- Understanding and proactively handling common problems like pests, wilted leaves, or stunted growth can ensure successful indoor kale gardening.
Despite any challenges that may arise with indoor gardening, the bounty of fresh, homegrown kale can be a rewarding and healthy addition to everyday meals. Embrace these guidelines for a thriving indoor kale garden and relish the satisfaction of harvesting your own fresh greens all year round.
FAQs
Q: How much sunlight does indoor kale require?
A: Kale is a sun-loving plant but it can tolerate some shade too. Where natural light is insufficient, you can use adjustable grow lights.
Q: Do I need a large space to grow kale indoors?
A: Not necessarily. Even small areas can be utilized effectively with proper planning and suitable containers.
Q: Can I grow different varieties of kale indoors?
A: Yes, several kale varieties can thrive indoors. You can experiment with different types based on personal preferences.
Q: How do I know when it’s time to harvest my indoor kale?
A: You can begin to harvest when the leaves are roughly the size of your hand, usually after around 2-3 months of growth.
Q: Can indoor grown kale be used just like outdoor grown kale in meals?
A: Absolutely. Indoor-grown kale can be used in a variety of recipes like salads, smoothies, and side dishes. It’s a healthy, tasty addition to your meals.
Encourage your friends and family to try indoor gardening by sharing this article. Check out our website for more informative posts on indoor gardening and plant care.