Embrace the joy of indoor gardening as you learn how to grow your own shallot garden. This is not only a fun and fulfilling project to undertake at home but it also serves as a constant supply of this versatile ingredient, elevating your culinary endeavors to the next level!
Understanding Shallot Growing Basics
Shallots are the lesser-known cousins of onions and garlic, with a milder flavor and a hint of sweetness. Originating from Central or Southwest Asia, they’ve now become a staple in various global cuisines. Their distinctive growth pattern involves a single bulb maturing into a cluster of several offspring bulbs.
To add some fun shallot facts to your knowledge list:
- Shallots are an excellent source of vitamin A, B, C, and E.
- They’re lauded for their antioxidant properties and are a rich source of dietary fiber.
- From soups and stews to stir-fries or fancy gourmet dishes, their unique flavor profile is sought-after by chefs worldwide.
Before you start, keep in mind that patience is key when growing shallots! They’re not particularly speedy-growers. With proper care, harvest times usually fall between 90-120 days after planting.
Selecting The Right Supplies For Indoor Shallot Growth
A successful indoor garden starts with the right supplies, specifically a good-quality pot or container, a nutrient-rich soil blend, and the correct variety of shallots.
Some pot recommendations include clay or ceramic pots with well-designed drainage, the classic terracotta pot, or even plastic grow-bags! As for soil, choose blends rich in organic matter like compost or well-rotted manure. The standard shallot varieties for indoor gardening include French Red, Golden Gourmet, and Red Sun.
In comparison, clay, ceramic, and terracotta pots provide excellent moisture and heat regulation but can be heavy to move. Plastic grow-bags are light and affordable, although they lack durability. Regarding soil blends, those enriched with organic matter encourage healthy growth but could attract pests if not managed correctly.
Preparing The Soil and Sowing Shallot Seeds Indoors
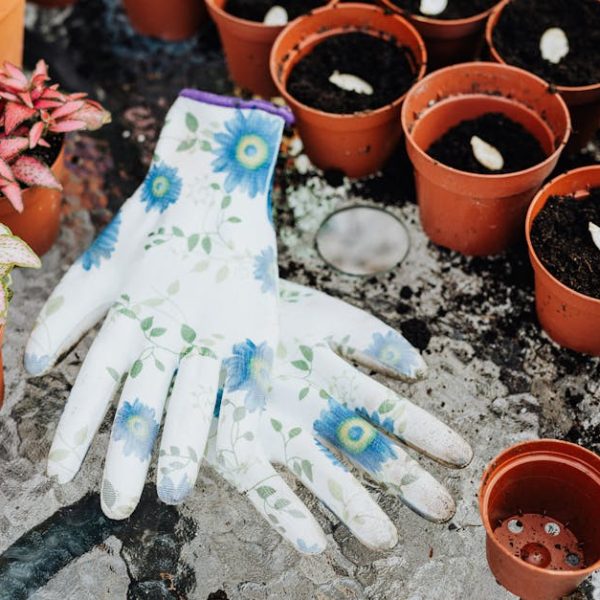
Soil preparation is an essential part of planting shallots indoors. The soil should be well-draining, fertile, and fairly loose. Start with your container half-filled with potting mix, water it down, and let it settle before placing the shallot seed in. Remember to place the tapered end of the shallot upwards. And most critically, keep them inside where they can receive 6-8 hours of sunlight daily.
These best practices will ensure your shallots take root effectively:
- Check soil pH: Shallots prefer neutral to slightly acidic soil, with a pH between 6.0 and 7.0.
- Water moderately: Over- or under- watering can both jeopardize your shallots’ health.
- Sunlight is a must: A good balance of shade and sun is beneficial for the plant.
- Plant the shallots at the right depth: About 1 inch into the soil is just right. Cover lightly with soil and water gently but thoroughly.
Now you have your indoor shallot garden set up, we’ll delve into the processes involved in maintaining and harvesting your shallots in the next sections. Enjoy the journey!
Taking Care of Your Indoor Shallot Garden
Ensuring a well-maintained shallot garden entails a consistent check on watering, access to adequate sunlight, and vigilance towards any pests or diseases.
The tell-tale signs of healthy shallot growth include:
- Bright, sturdy leaves.
- No visible browning or rotting on the bulbs.
- The formation of multiple bulbs per plant after several weeks to a month.
Watch out for pests such as aphids, whiteflies or fungal diseases like mildew, particularly in overcrowded or excessively moist environments.
To maintain a flourishing garden:
- Moderation in watering is key: Shallots enjoy moist, not soggy soil.
- Regular rotation: Rotate your pots occasionally to make sure all plants get even sunlight.
- Pest control: Keep an eye out for common pests and treat them promptly to avoid infestation.
Harvesting Your Homegrown Shallots
After months of nurturing your plants, we’re finally at the exciting stage – harvest time! The shallots are ready to be harvested when the leaves wither and turn brown. To harvest, gently pull up the shallots, being careful not to damage the bulbs.
Here are some best practices for the harvest:
- Dry your shallots: Place your harvested shallots in a warm, dry place with good air circulation for about 2-3 weeks or until the onions are fully dry.
- Handle with care: Be gentle during the whole process to avoid damaging the bulbs, which can lead to spoilage.
- Store correctly: Once dried, cut off the dry stalks and roots, and store the bulbs in a cool, dry place.
With all these guidelines in hand, exploring a hobby in indoor gardening has never been more exciting. So, get started right away, and as you nurture your mini shallot garden, enjoy not just the fresh produce but also the inimitable joy that comes with the journey. It is genuinely the embodiment of the saying, ‘from tiny seeds grow mighty trees’. Or in this case, from tiny bulbs grow exquisite shallots! Happy gardening!
Key Takeaway:
- Shallots are lesser-known cousins of onions and garlic originating from Central or Southwest Asia, commonly used in various global cuisines. They offer several nutritional benefits, including rich antioxidant properties and a substantial source of vitamins and dietary fibers.
- Growing shallots requires good-quality pots, a nutrient-rich soil blend, and an appropriate shallot variety. Following the right soil preparation and indulging in consistent care practices, including optimizing watering and sunlight exposure and managing pests, can assure healthy plant growth.
- Harvesting shallots involves vigilant observation for when the leaves wither and turn brown. The process involves delicately pulling up the shallots and proceeding with drying and storage procedures to preserve them without any spoilage issues.
Stimulate the joy of indoor gardening by cultivating your own shallot garden at home. It’s not only a delightful journey but also provides a fulfilling sense of achievement and a steady supply of this culinary staple. Embrace the art of patience as you watch your shallot bulbs flourish and remember, every step of this journey stands to bring immense gratification.
FAQs
Q: How much sunlight do indoor shallots need daily?
A: Shallots require 6-8 hours of sunlight daily for optimal growth. Try to ensure your shallots get a good balance of shade and sun.
Q: What are some common pests that affect shallots?
A: Common pests to lookout for when growing shallots include aphids and whiteflies. Additionally, fungal diseases like mildew can also affect shallots, especially in overcrowded or excessively moist environments.
Q: How can I tell if my shallot plant is healthy?
A: Signs of a healthy shallot plant include bright, sturdy leaves, no visible browning or rotting on the bulbs, and the formation of multiple bulbs per plant after several weeks to a month.
Q: What type of container is best for growing indoor shallots?
A: Clay, ceramic, and terracotta pots provide excellent moisture and heat regulation but might be heavy. Plastic grow-bags, though light and affordable, might lack durability. Choose according to your convenience and preference.
Q: How much water do indoor shallots need?
A: Shallots enjoy moist, not soggy soil. Overwatering can be as harmful as underwatering, thus moderation is key.
Don’t hesitate to share this article and explore more exciting posts on our website! Happy gardening!


