Growing your own ginger at home can be a rewarding and practical endeavor. This herb, native to Southeast Asia, has found its way into both culinary recipes and medicinal practices because of its tangy flavor and health benefits. Contrary to popular belief, ginger doesn’t only thrive in a tropical climate; with a few holistic measures, you can successfully cultivate it in virtually any environment. This article details practical steps and tips to nurture your very own healthy ginger plant from the comfort of your home.
Understanding the Basics of Ginger Plantation
Interestingly, the aromatic and pungent ginger we consume is the root part of the plant. Known scientifically as Zingiber officinale, it thrives in warm and humid climates but can also be grown indoors. The major factors playing a vital role in ginger cultivation are the right temperature, a moist atmosphere, and well-drained nutrient-rich soil.
Pro Tips: Ginger is best planted in early spring. For outdoor cultivation, ensure the spot you pick is well-shaded and avoids direct sunlight.
List of Essentials:
- Ginger root
- A pot or a garden patch
- Nutrient-rich, well-drained soil
- A warm, shaded spot
- Regular water supply
Selecting and Preparing the Ginger Root for Plantation
Locating a perfect ginger root for planting is a crucial step. The ideal root is plump with tight skin, not shriveled and old. It should have several eye buds on it (like potato eyes) which will grow into new plants.
Before planting, the root has to be prepared. Firstly, soak it overnight in warm water to ready it for sprouting. Then, if it is a big piece, you can cut it into smaller pieces ensuring each piece has at least one eye bud.
Best Practices: Try sourcing your ginger root from a garden center or seed catalog. Grocery store ginger might be treated with growth retardants, which prevents them from sprouting.
Checklist for Preparing the Plant:
- Choose a plump root with several eye buds
- Soak the root overnight
- (Optional) Cut it into pieces ensuring each has at least one eye
Planting the Ginger Root
Once prepared, the ginger root is ready to be planted. It should be planted about 2-4 inches deep in the soil, with the eye bud pointing upwards. The soil needs to be a rich, loamy type and most importantly, should drain well.
Pro Tips: If you plan to grow your ginger in a pot, make sure your pot is at least 12 inches deep to give your new ginger plant room to grow.
Comparison:
| Direct Soil | Pot | |
|---|---|---|
| PROS | Plants grow bigger and better | Can be grown indoors; Easier to control growing conditions |
| CONS | Requires outdoor space; more susceptible to pests | Requires regular repotting and monitoring |
This marks the start of your ginger-growing journey. Now armed with the basic knowledge, let’s move towards ongoing care, maintenance, and harvesting strategies for your ginger plant.
Maintaining Your Ginger Plant
Modern gardening isn’t just about sprouting plants and leaving them be. Consistent care and regular maintenance help ensure a healthy growth. A well-grown ginger plant requires even, consistent watering. This means keeping the soil moist, but not waterlogged. As for fertilization, a good quality all-purpose plant food is suitable.
Remember to monitor the growth of your ginger plants regularly. Healthy ginger plants would exhibit a steady growth of reed-like stems. If the foliage starts turning yellow earlier than expected, your plant may be over-watered or infected by pests.
Best Practices: As part of your regular ginger plant care, check the underside of the leaves for pests. A few bugs are normal, but if you see clusters, you might have a pest problem and may have to resort to organic pesticides.
Checklist for Maintaining Your Ginger Plant:
- Water regularly, but don’t over-water
- Fertilize once every couple of weeks during warm weather
- Regularly check for pests
Harvesting and Using Your Home-Grown Ginger
Here comes the most exciting part of the process: harvesting. Unlike other herbs, ginger is a little bit of a slow grower. You’ll be able to harvest it about 8-10 months after planting if it has been receiving optimal care.
When harvesting, gently dig up the entire plant. Break off a portion of the rhizome (the thick part of the root system where the ginger grows), then re-plant the rest.
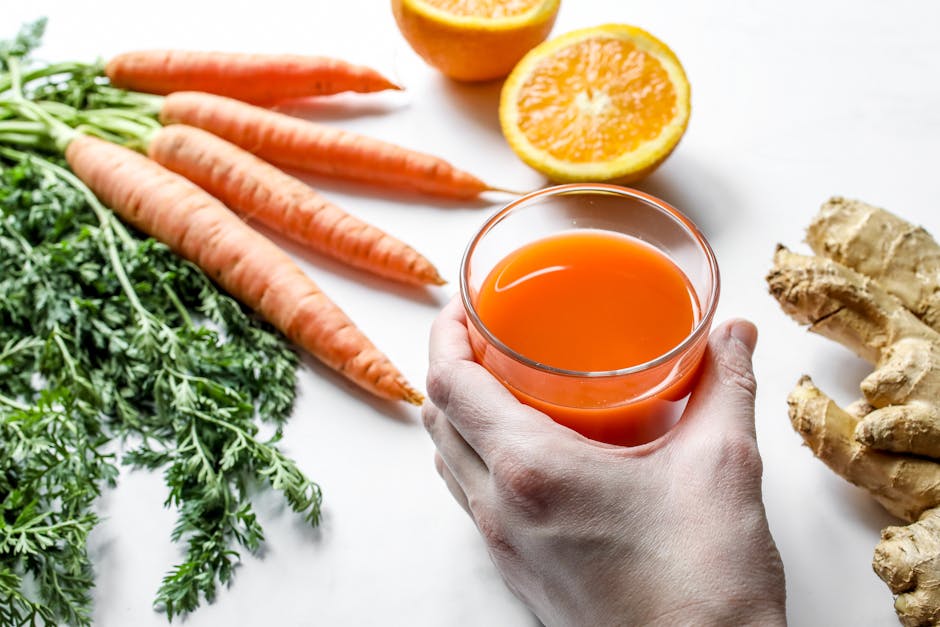
Homegrown ginger possesses a fresh, potent flavor that surpasses that of store-bought ginger. It can be grated, sliced, dried, or roasted before being added to your dishes. It is also excellent for creating a soothing tea or healthy smoothie.
Pro Tips: Fresh ginger can be stored in your refrigerator for up to three weeks, or in your freezer for six months. Consider drying or powdering your ginger to extend its shelf life even further.
List of Uses:
- Cooking ingredient: Adds a zesty flavor to dishes
- Medicinal uses: Provides relief from digestive issues
- Beverage: A hot cup of ginger tea can soothe a sore throat
With the right care and conditions, anyone can grow their own ginger at home. It is a rewarding experience that leaves you with a fresh supply of ginger year-round. Follow these steps, and start enjoying the flavorful and healthful benefits of this amazing plant. Happy gardening!
Key Takeaway:
- Growing ginger at home is a rewarding experience, providing a fresh supply all year round.
- Ginger can be grown successfully indoors or outdoors, regardless of the climate, with the right care.
- Identifying the right ginger root (plump with several eye buds) and preparing it properly (soaking & cutting) is crucial.
- Consistent care, involving regular watering and the use of good quality plant food, is crucial to ensuring a healthy ginger plant.
- Freshly harvested ginger, which requires about 8-10 months of growth, outshines store-bought ginger in flavor and potency.
Home-grown ginger not only offers a fresh, potent flavor that enhances your cooking but also contributes significantly to your health. Embrace this enriching gardening experience, follow the insights provided, and reap the benefits of this amazing plant. Happy planting!
FAQs
Q: Can ginger be grown in a pot?
A: Absolutely! Ginger is actually quite adaptable and can thrive both in a garden patch and in pots. If you choose to plant it in a pot, ensure it’s at least 12 inches deep to give the plant ample room to grow.
Q: Can ginger be grown from ginger bought at grocery stores?
A: Even though it’s possible, it’s not recommended. Grocery store-bought ginger might be treated with growth retardants, which can inhibit sprouting.
Q: What to do if I notice pests on my ginger plant?
A: If you see small clusters of pests on your plant, try using organic pesticides. Regularly checking for pests as part of your ginger plant care can help prevent extensive damage.
Q: Can I harvest and use the ginger whenever I want?
A: Ginger is a slow grower and is usually ready for harvest 8-10 months after planting. It’s advised to wait for that period to enjoy the full benefits of a grown ginger plant.
Q: How can I use the harvested ginger?
A: You can grate, slice, dry, or roast your harvested ginger before adding it to dishes, making a soothing tea, or preparing healthy smoothies.
Remember to share this insightful article and explore more posts on our website for your green-thumb needs. Happy gardening!